Exploring MS-Word
• recognize how to perform basic formatting on MS-Word
• type and format content on MS-Word
• identify and use keyboard shortcuts on MS-Word.
Exploring MS-Word:
Arranging words or creating different styles of the word on MS-Word is called as formatting.
Formatting is used to make your document appear the way you want it to. For example, a leave letter format is different from formatting a resume.
Well, there are many methods to create different formats on MS-word. You
can make a word look bold, slant, underlined, or colorful, if you need it!
1. Adding text or typing in MS-Word
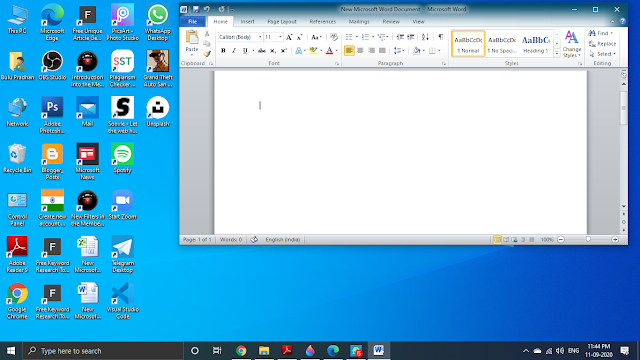
a. The insertion point is the blinking vertical line in the document. It indicates where one can enter text on the page. You may use the insertion point in a variety of ways.
b. Place the cursor where you want to add the text.
c. Start typing.
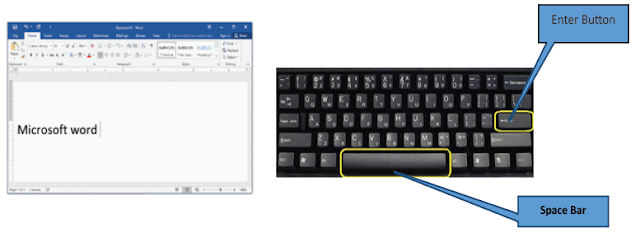
d. Add spaces: Press the spacebar to add spaces after a word or in between text.
e. New paragraph line: Press Enter on the keyboard to move the insertion point to the next paragraph line.
f. Manual placement: Once you begin typing, use the mouse to move the insertion point to a specific place in the document.
Simply click the location in the text where you want to place it.
g. Arrow keys: You can also use the arrow keys on the keyboard to move the insertion point. The left and right arrow keys will move between adjacent characters on the same line.
The up and down arrows will
move between paragraph lines. Press Ctrl+Left or Ctrl+Right to quickly move between words.
2. Formatting specific text
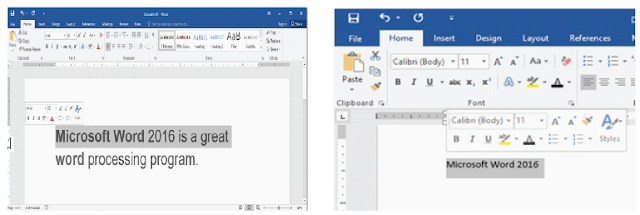
a. Before you move or format text, select it. To do this, click and drag the mouse over the text, then release the mouse.
A highlighted box will appear over the selected text.
b. Select an option to change the font, font size, font color, or make the text bold, italics or underline.
c. When you select text or images in Word, a hover toolbar with command shortcuts will appear.
If the toolbar does not appear at first, try hovering the mouse over the selection.
3. To select multiple lines of text
a. Move the mouse pointer to the left of any line so that it becomes a right slanted arrow.
b. Left-click the mouse. The line will be selected.
c. To select multiple lines, click and drag the mouse up or down.
d. To select all of the text in the document, choose the Select command on the Home tab, then click Select All. Alternatively, you can press Ctrl+A on the keyboard.
4. To delete text
a. To delete text to the left of the insertion point, press the Backspace key on your keyboard.
b. To delete text to the right of the insertion point, press the Delete key on your keyboard.
c. Select the text you want to remove, then press the Delete key.
d. If you select text and start typing, the selected text will automatically be deleted and replaced with the new text.
Microsoft Word includes several built-in toolbars, including the two default toolbars that are visible when you start Word: The Standard toolbar and the Formatting toolbar.
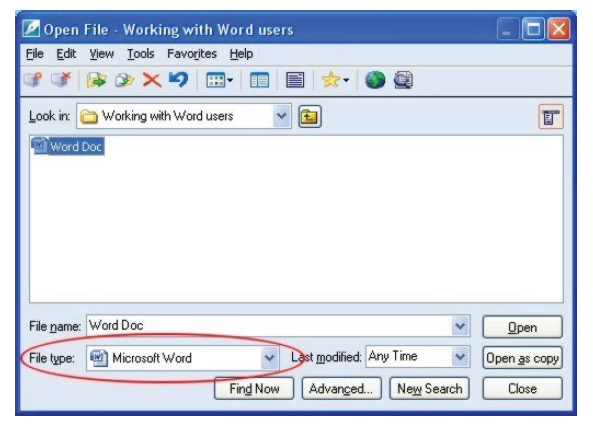
The Standard toolbar includes command buttons with which you can quickly access many of the frequently used commands, such as Save, Open, Copy, and Paste.
5. Copying and moving text
a. Word allows you to copy text that is already in your document and paste it in other places. This can save you a lot of time and effort.
If you want to move text around in your document, you can cut and paste or
drag and drop.
6. Formatting
The Formatting toolbar provides quick access to text-formatting commands, including Bold, Italic, Underline, Numbering, and Bullets.
7. Text alignment
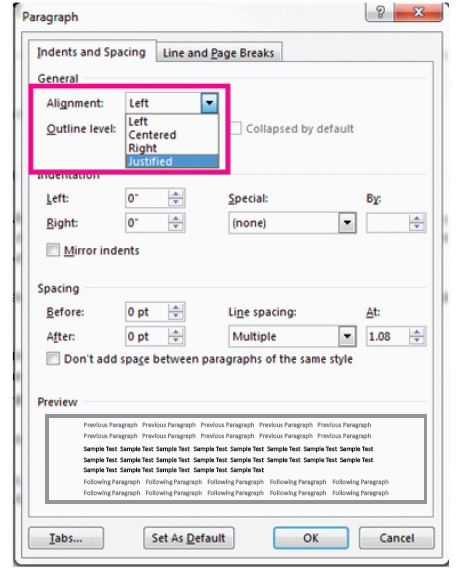
Alignment determines the appearance and orientation of the edges of the paragraph: left-aligned text, right-aligned text, centered text, or justified text, (which is aligned evenly along the left and right margins). For example,
in a paragraph that is left-aligned (the most common alignment), the left edge of the paragraph is flushed with the left margin.
Vertical alignment determines the position of the text within a section of a document relative to the top
and bottom margins, and is often used to create a cover page.
a. Aligning the text left or right
i. Select the text that you want to align.
ii. On the Home tab, in the Paragraph group, click Align Left or Align Right.
b. Center the text horizontally between the side margins.
i. Select the text that you want to center.
ii. On the Home tab, in the Paragraph group, click Center.
c. Center the text vertically between the top and bottom margins.
i. Select the text that you want to center.
ii. On the Layout or Page Layout tab, click the Dialog Box Launcher in the Page Setup group, and then click
the Layout tab.
iii. In the Vertical alignment box, click Center.
iv. In the Apply to box, click Selected text, and then click OK.
8. Insert Tab
The Insert tab contains various items that you may want to insert into a document.
These include tables, WordArt, hyperlinks, symbols, charts, signature line, date and time, shapes, header, footer, text boxes, links, boxes, equations, and so on.
a. Select Insert > Page Number, and then choose the location and style you want.
b. If you don’t want a page number to appear on the first page, select Different First Page.
c. If you want to number to start with 1 on the second page, go to Page Number > Format Page Numbers, and set Start at 0.
d. When you are done, select Close Header and Footer.
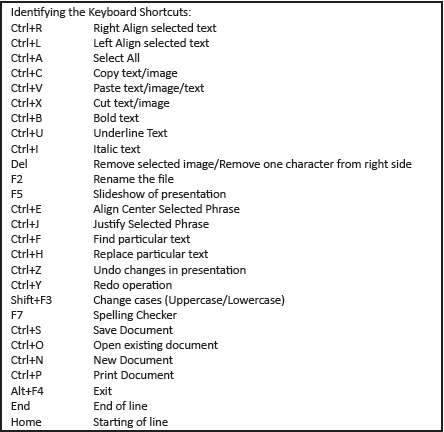
9. Keyboard shortcuts
Credit by-bharatskills.gov.in
